For any WordPress site owner, a key goal is to create a user-friendly, functional, and engaging website. One of the most powerful tools at your disposal for achieving this is the WordPress Widget. Widgets allow you to add content and features to specific areas of your website, like sidebars and footers, without touching a single line of code.
This comprehensive guide will walk you through everything you need to know about WordPress widgets, from the basic concepts to the modern block-based editor. By mastering widgets, you can significantly improve your site’s layout, enhance user experience (UX), and boost your overall Search Engine Optimization (SEO) efforts.
1. What Are WordPress Widgets?
In the WordPress ecosystem, a Widget is a small, self-contained block of content or functionality that you can place into designated “widget-ready areas” of your theme. Think of them as modular, plug-and-play elements for your site’s design.
For example, a search bar is a widget. A list of your recent blog posts is another widget. By using a simple drag-and-drop interface, you can add these functional blocks to your site’s sidebars, footers, and other predefined sections.
The primary advantage of using WordPress widgets is their simplicity and flexibility. They democratize website customization, empowering non-technical users to control their site’s layout and features easily. Instead of needing to edit complex theme files like sidebar.php, you can manage everything from a user-friendly dashboard. A well-organized site with helpful widgets leads to a better user experience, which is a positive signal for search engines like Google.
2. Managing Widget Areas (Sidebars)
Widget Areas, also commonly referred to as Sidebars, are the specific locations in your WordPress theme where you can place widgets. The number and placement of these areas are defined by your active WordPress theme. Common widget areas include:
- Main Sidebar / Primary Sidebar: The classic column on the left or right of your main content area on blog posts and pages.
- Footer: Often divided into multiple columns (e.g., Footer 1, Footer 2, Footer 3) at the very bottom of every page.
- Header: Some advanced themes provide a widget area in the header for things like contact information or social media icons.
To manage your widget areas, follow these steps:
- Log in to your WordPress admin dashboard.
- From the left-hand menu, navigate to “Appearance” -> “Widgets”.
On the Widgets screen, you’ll see a list of “Available Widgets” and, on the right, your theme’s designated widget areas. You can expand each widget area to see which widgets it currently contains. To add a widget, simply drag it from the available list and drop it into your desired area. You can also reorder widgets within an area by dragging them up or down.
3. Adding and Configuring Common Widgets
WordPress comes with a set of default widgets that are incredibly useful for almost any website. Let’s explore how to add and configure the most common ones to improve your site’s functionality and content discovery.
3.1 Search Box
An absolute must-have for any content-rich site. The Search widget helps visitors find what they’re looking for quickly.
- How to Add: Find the “Search” widget and drag it to a prominent widget area like your primary sidebar.
- Configuration: You can give it an optional title, like “Search This Site.” However, leaving the title blank is often the cleanest look.
3.2 Recent Posts
Displaying your latest articles is a fantastic way to increase the visibility of new content and encourage visitors to explore more of your site. This also improves internal linking, which is a valuable SEO practice.
- How to Add: Drag the “Recent Posts” widget into your sidebar.
- Configuration:
- Title: Customize the heading (e.g., “Latest Articles” or “Fresh Off The Press”).
- Number of posts to show: A value between 5 and 10 is standard.
- Display post date?: Checking this box adds the publication date next to the title, which is great for time-sensitive content.
3.3 Recent Comments
Showcasing the latest comments can create a sense of community and social proof, encouraging other readers to join the conversation.
- How to Add: Drag the “Recent Comments” widget to your chosen area.
- Configuration:
- Title: Use a title like “Recent Discussions” or “Community Buzz.”
- Number of comments to show: Typically, 5 is a good number to display.
3.4 Categories
The Categories widget helps organize your content, allowing users to browse articles by topic. This is essential for good site navigation and user experience.
- How to Add: Find and add the “Categories” widget.
- Configuration:
- Title: “Post Categories” is a common choice.
- Display as dropdown: Use this option if you have many categories to save space.
- Show post counts: This displays the number of articles within each category, which can guide users to popular topics.
- Show hierarchy: If you use parent and sub-categories, this will display them in a nested, easy-to-understand structure.
3.5 Tag Cloud
A Tag Cloud provides a visual representation of your most-used post tags. The font size of each tag is typically proportional to its frequency, making it a fun way for users to see your site’s main themes at a glance.
- How to Add: Drag the “Tag Cloud” widget to your sidebar or footer.
- Configuration:
- Title: “Popular Topics” or “Article Tags.”
- Taxonomy: You’ll usually select “Tags,” but you can also use it for product categories or other custom taxonomies.
- Show tag counts: Display the post count next to each tag.
3.6 Custom HTML
This is one of the most versatile widgets available. The Custom HTML widget allows you to insert any HTML, CSS, or even JavaScript code.
- How to Add: Find the “Custom HTML” widget and add it.
- Common Uses:
- Embedding Google AdSense ad code.
- Adding scripts for social media follow buttons.
- Embedding a Google Map or a newsletter sign-up form from services like Mailchimp.
- Creating a custom author bio with an image and links.
- Configuration: Simply paste your code into the content box and save.
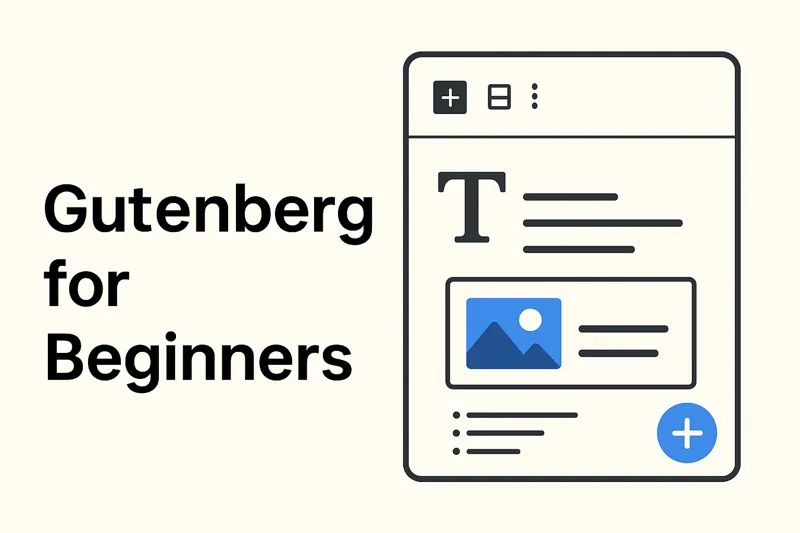
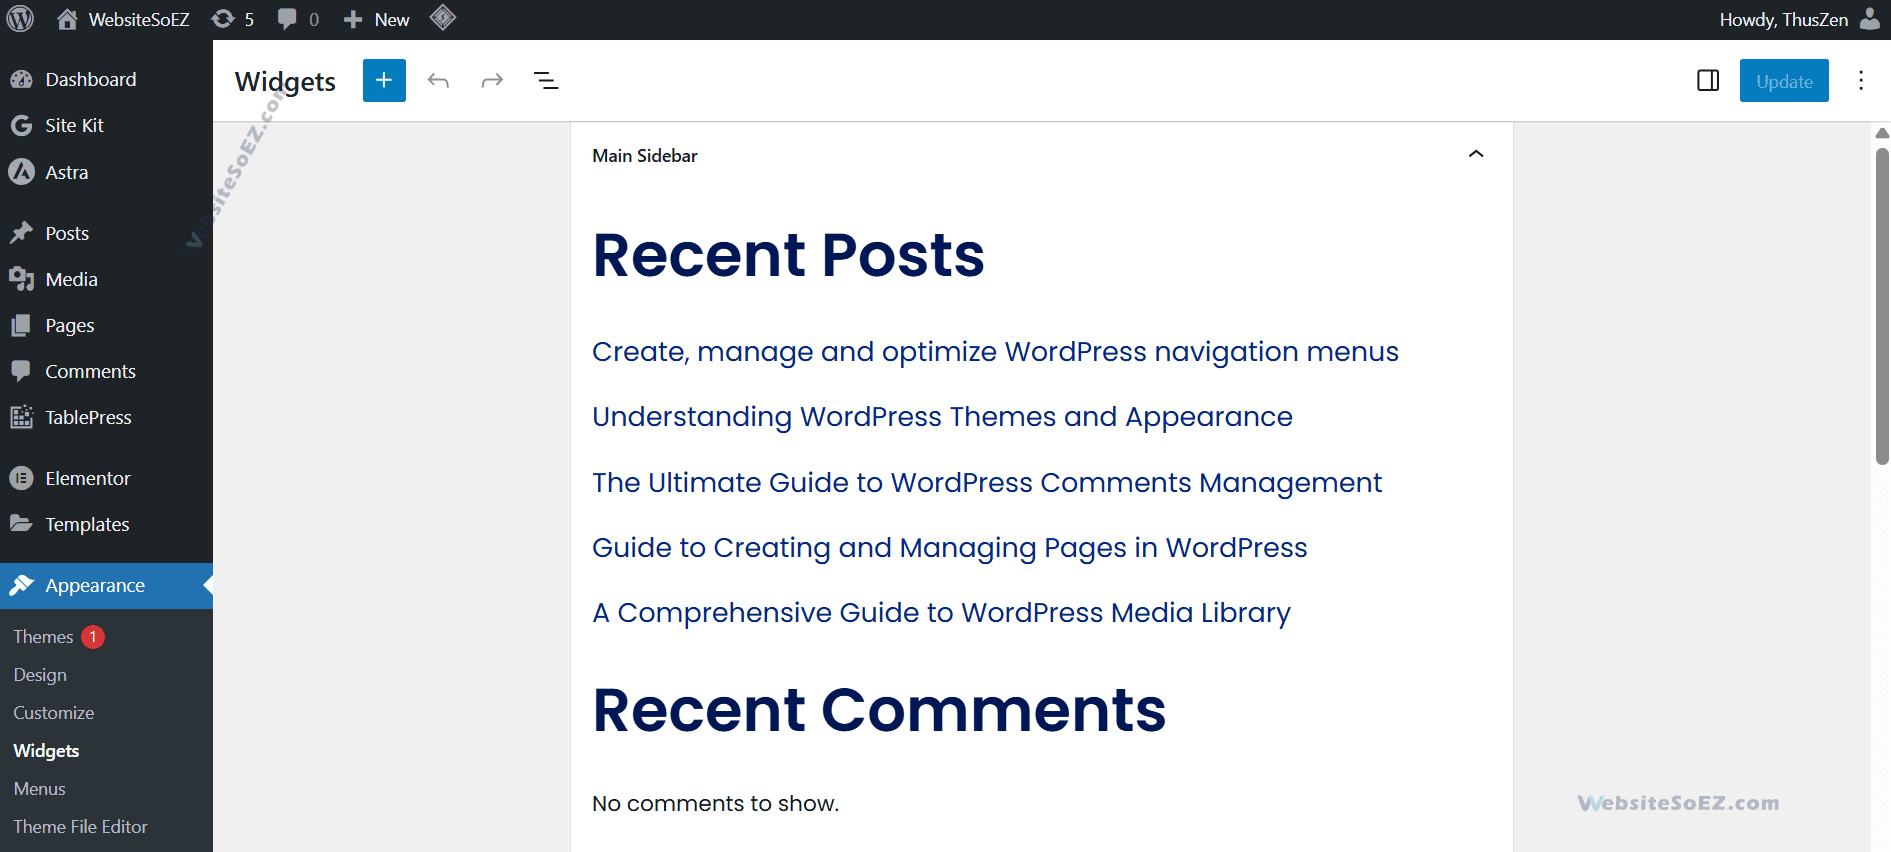
4. The Block-Based Widget Editor (Gutenberg)
Starting with WordPress 5.8, the classic widget management screen was updated to a new, modern interface: the Block-Based Widget Editor. This change brings the power and flexibility of the Gutenberg block editor directly to your widget areas.
If you are using a modern version of WordPress, the “Appearance” -> “Widgets” page will look very similar to the post editor.
Advantages of the Block-Based Editor:
- Rich Content: You can now use almost any Gutenberg block in your sidebars and footers. This includes paragraphs, headings, images, galleries, buttons, columns, and more.
- Enhanced Layout Control: Easily create multi-column layouts within a single widget area using the “Columns” block.
- Unified Experience: The experience of editing a post and managing widgets is now consistent.
- Live Preview: You can manage your block widgets directly from the Theme Customizer (“Appearance” -> “Customize” -> “Widgets”) for a real-time preview of your changes.
How to Use the Block-Based Widget Editor:
- Navigate to “Appearance” -> “Widgets”.
- Click to expand the widget area you want to edit (e.g., “Main Sidebar”).
- Click the plus sign (+) icon to open the block inserter and add any block you want.
- Legacy widgets (like “Recent Posts”) are still available. You can find them by searching or by adding the “Legacy Widget” block.
While this new editor is incredibly powerful, some users may prefer the old interface. You can restore it by installing the official “Classic Widgets” plugin. However, we highly recommend getting familiar with the block editor, as it is the future of WordPress customization.
Mastering WordPress widgets is a fundamental skill for any website manager. Whether you’re using the classic interface or the modern block-based editor, a strategic use of widgets can dramatically improve your site’s usability, engagement, and SEO performance.
Take a few minutes to review your own widget setup. Is there an opportunity to add a helpful feature? Could you use the block editor to create a more dynamic sidebar? By continuously refining these elements, you ensure your WordPress website remains effective, professional, and competitive.