The WordPress Block Editor, commonly known as Gutenberg, is the default tool for creating content and customizing your site. First introduced in 2019, it replaced the old Classic Editor and brought a new, modern way of building with WordPress. With its simple and intuitive block-based approach, Gutenberg makes it easy for anyone—whether beginner or experienced—to design pages, write posts, and manage a WordPress website with ease.
What’s the Difference Between the Block Editor (Gutenberg) and the Classic Editor?
Before diving deeper into the Block Editor, let’s compare and understand the differences between the Gutenberg Block Editor and the old Classic Editor. The Classic Editor in WordPress looks like this:
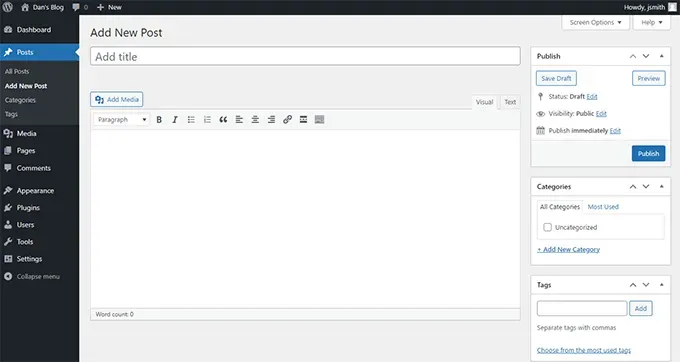
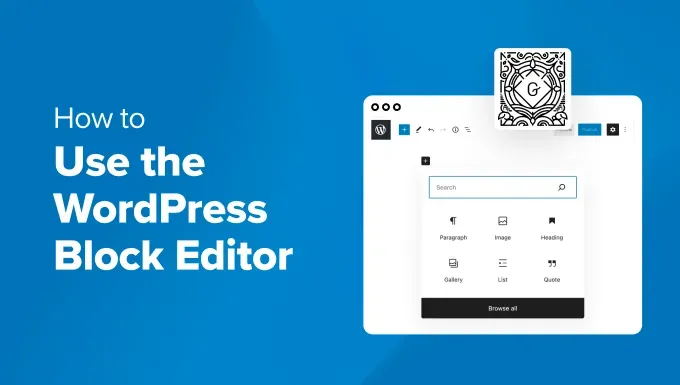
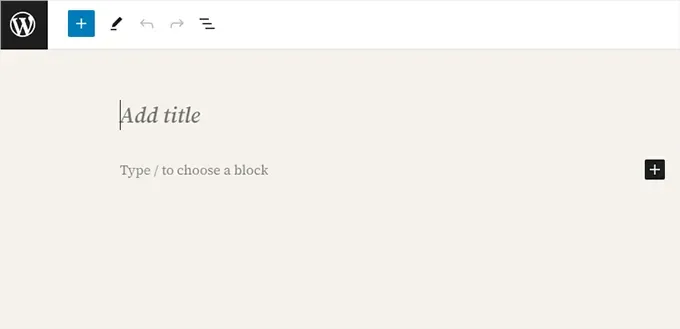
It has a text editor box with some basic formatting options. Its functionality and visual appearance are quite limited. The Block Editor in WordPress looks like this:

As you can see, they are two completely different editors used to create content in WordPress. The old Classic Editor is a text editor with formatting buttons similar to Microsoft Word. The new editor takes a different approach, using “blocks”—hence the name Block Editor.
Blocks are individual content elements that can be added to the editing screen to build layouts. Every item you add to a post or page is a block. For example, you can add blocks for paragraphs, images, videos, galleries, audio, lists, and more. All common content elements have corresponding blocks, and additional blocks can be added through WordPress plugins.
What Are the Advantages of the WordPress Block Editor Compared to the Classic Editor?
The WordPress Block Editor provides an easy way to add different types of content to posts and pages. For example, in the past, if you wanted to add a table using the Classic Editor, you would need a separate table plugin. With the Block Editor, you can simply add a Table block, choose the number of rows and columns, and start entering your content.

You can move content elements up and down, edit them as individual blocks, and easily create rich media content. Most importantly, the WordPress Block Editor is easy to use and learn. This provides a huge advantage for beginners who are just starting their first blog or building a DIY business website with WordPress.
With that said, let’s take a look at how to use the WordPress Block Editor like a pro to create amazing content.
Using Gutenberg – The WordPress Block Editor
The Block Editor is designed to be intuitive and flexible. While it looks different from the old WordPress editor, it can still accomplish everything you could do with the Classic Editor.
Creating a New Blog Post or Page Using the Block Editor
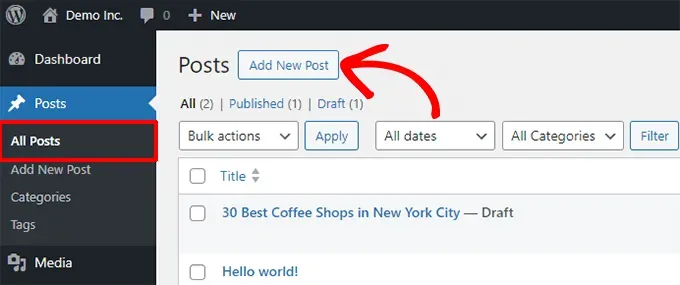
Start creating a new blog post or page as you normally would. Simply click Posts » Add New in the WordPress admin. If you want to create a page, go to Pages » Add New. This will launch the Block Editor.
How to Add Blocks in the Block Editor
The first block of every post or page is the title. You can use your mouse to move below the title or press the Tab key on your keyboard to move the cursor down and start writing.
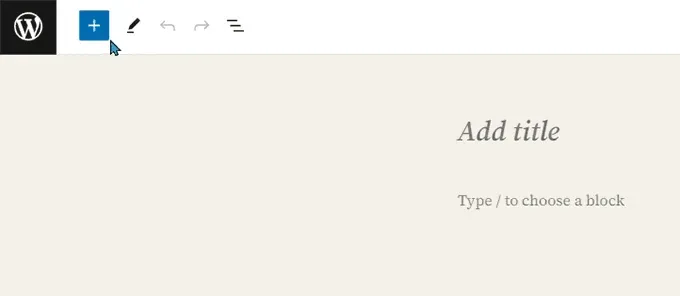
By default, the next block is a Paragraph block, allowing you to start writing right away. However, if you want to add other types of content, it’s easy. Simply click the “Add Block” button [+] at the top left of the editor, or click the same button below or to the right of an existing block to add a new content block.
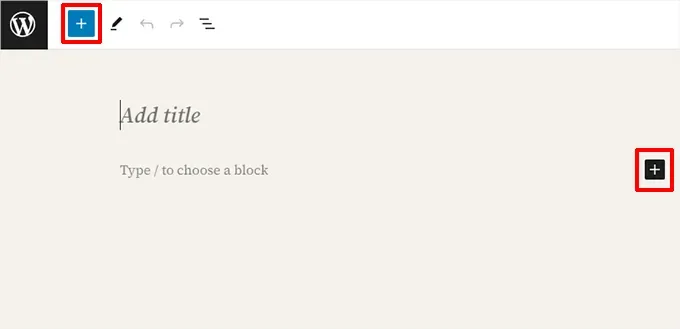
Clicking this button will display the Add Block menu, with a search bar at the top and commonly used blocks below. You can click the tabs to browse block categories or enter keywords to quickly search for a specific block.
If you don’t want to use the mouse to click the button, you can also use a keyboard shortcut. Simply type / to search for a block, and then press Enter on your keyboard to insert it.
Using Blocks in the New Editor
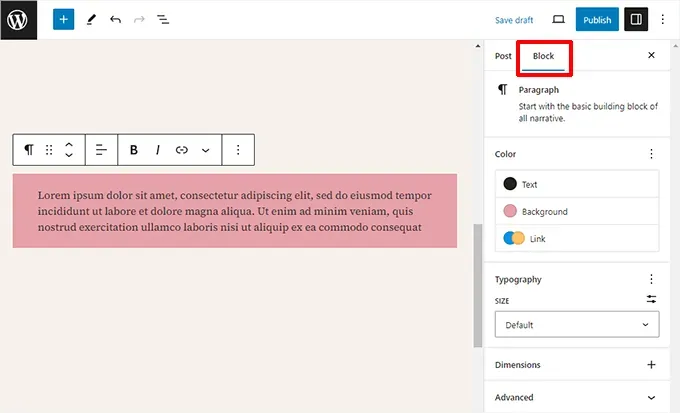
Each block has its own toolbar, which appears at the top of the block. The buttons in the toolbar change depending on the block you are editing. For example, in the screenshot below, we are working on a Paragraph block, which shows basic formatting buttons such as text alignment, bold, italic, inserting links, and more options available under the three-dot menu.
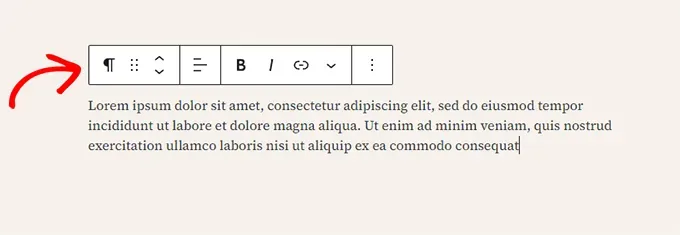
In addition to the toolbar, each block can also have its own block settings, which appear in the right-hand sidebar of the editing screen. These settings vary depending on the block you are editing. For example, a Paragraph block allows you to adjust the text, background, link colors, and layout.
You can move blocks up and down to rearrange them. To do this, simply click and drag the block, or use the up and down arrows in the block’s toolbar.
Organizing Blocks by Groups and Columns
The Block Editor also comes with handy tools to manage and organize your content layout. You can select multiple blocks by holding down the Shift key on your keyboard while clicking on them.
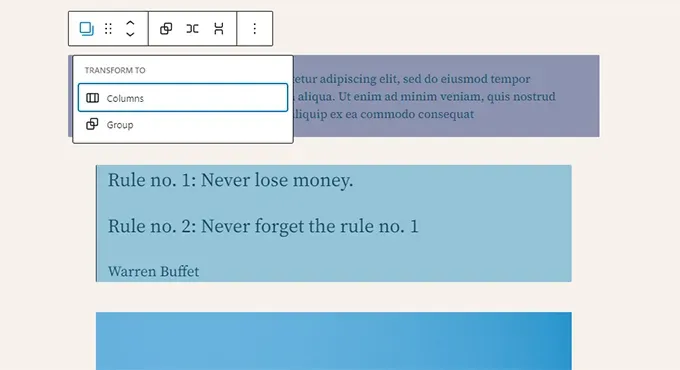
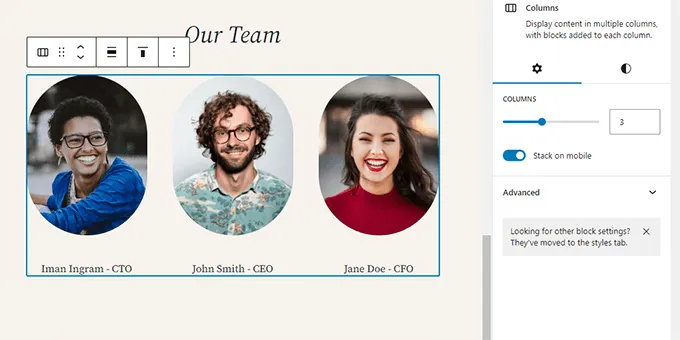
Next, go ahead and click the block type button in the toolbar to convert the selected blocks into a Group or Columns. You can then apply styles to the entire group, such as changing alignment or spacing.
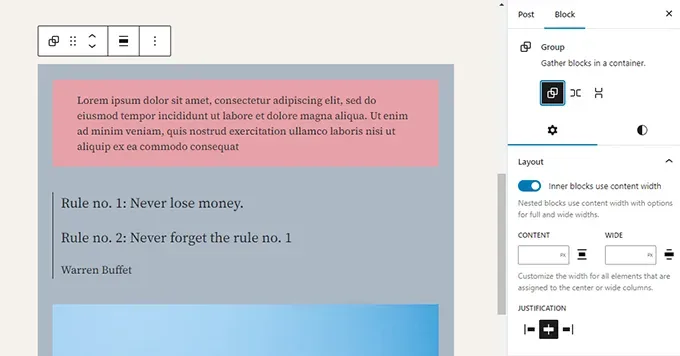
The Block Editor also allows you to add empty Group or Columns blocks, which can later be filled with other blocks.
You can add any type of block to each column as needed. This allows you to create beautiful layouts using different columns.
Saving and Reusing Blocks in Gutenberg
One of the best advantages of using blocks is that they can be saved and reused. This is especially useful for website owners and bloggers who frequently need to add specific content snippets to their posts or pages. Simply click the menu button in the top-right corner of any block’s toolbar, and select the “Create Reusable Block” option from the menu.
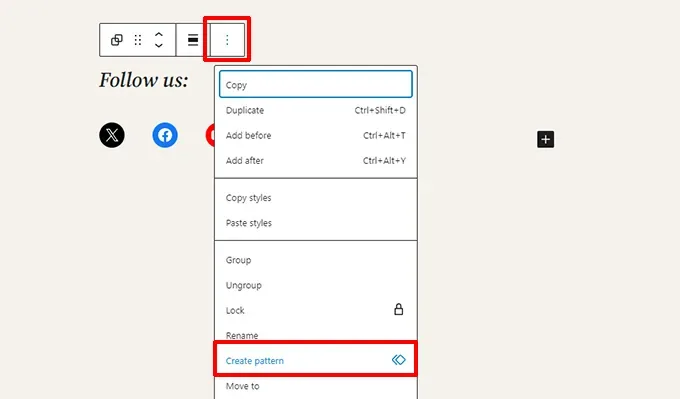
You can also save entire Groups and Columns as reusable blocks. This allows you to save a whole section and quickly use it whenever needed. To save a block as reusable, simply click the relevant option, and a window will pop up. In this window, you need to give the block a name so you can easily find it later. Additionally, you can choose a category to save the block in, which helps you organize your reusable blocks more efficiently.
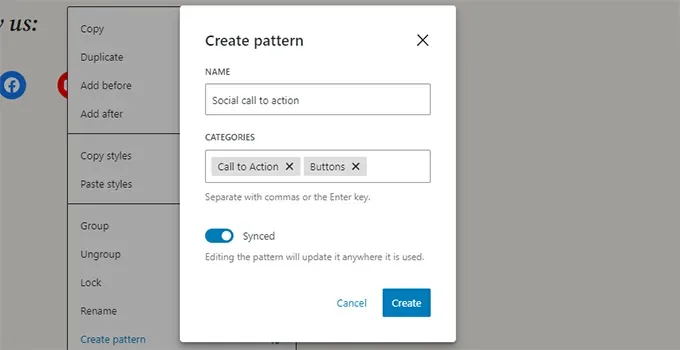
Next, click the “Create” button to save your pattern. WordPress will store your pattern along with all the blocks it contains. To reuse your pattern, simply edit the post or page where you want to add it. Then, click the [+] Add Block button or use the / keyboard shortcut. You can find your pattern by typing the name you assigned to it.
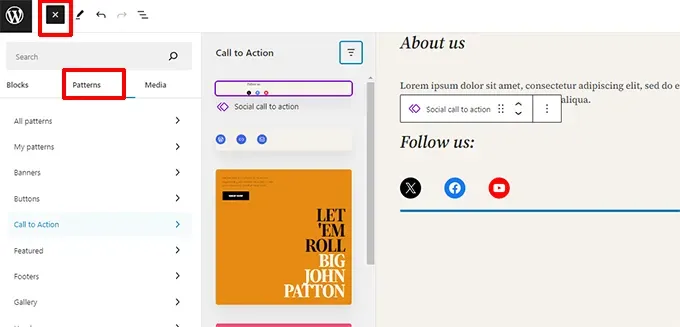
The Patterns feature makes it easier for website owners to add commonly used elements to their page layouts, such as eye-catching headlines, social media share buttons, banner ads, and more. Your chosen WordPress theme or plugins may come with some prebuilt patterns, and you can also browse the WordPress Pattern Directory to find patterns shared by others and see if any suit your needs.
在古腾堡块编辑器中发布和管理选项
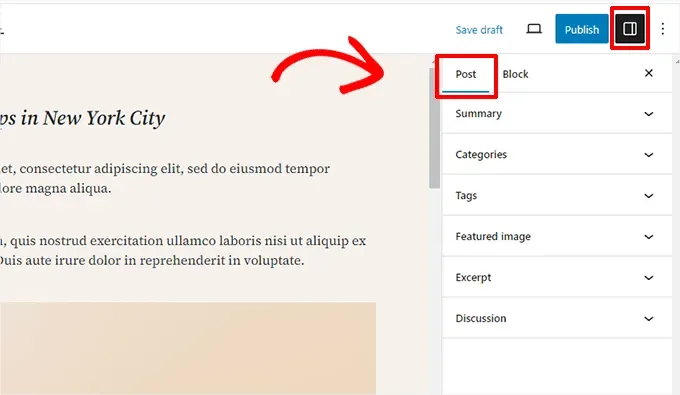
Every WordPress post contains a variety of metadata, including the publication date, categories and tags, featured image, and more. All of these options are neatly organized in the right-hand sidebar of the editor screen.
Plugin Options in Gutenberg
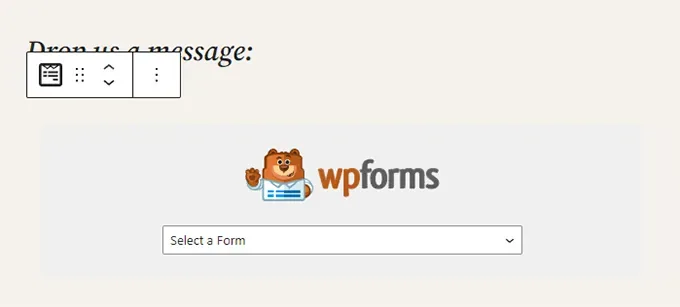
WordPress plugins can use the Block Editor API to integrate their settings into the editing screen. Some popular plugins come with their own blocks. For example, WPForms, one of the best WordPress form builder plugins, allows you to add forms to your content using blocks.
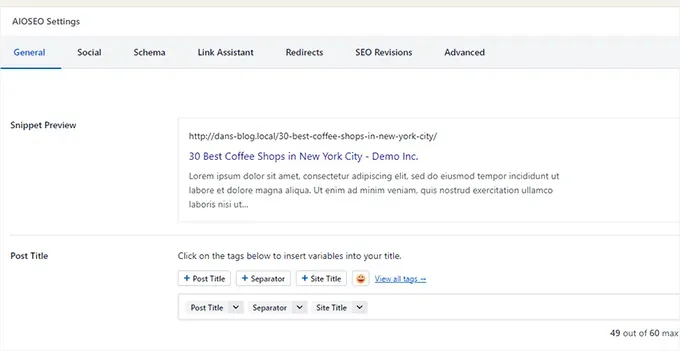
Other WordPress plugins may also add their settings to the Block Editor screen. For example, here’s how All in One SEO for WordPress allows you to edit SEO settings at the bottom of the Block Editor:
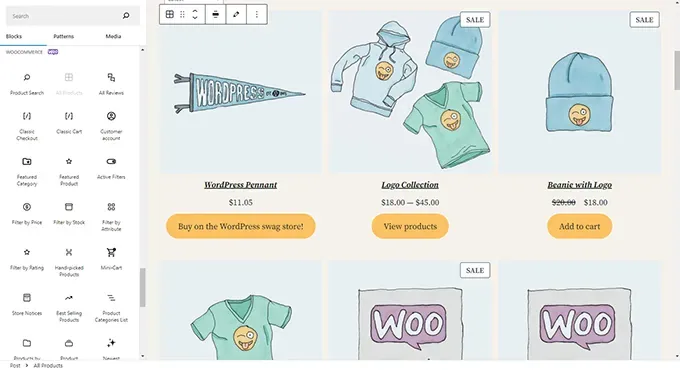
Similarly, if you run an online store using WooCommerce, you’ll notice that it also comes with its own blocks. These blocks allow you to add products to any WordPress post or page.
Adding Some Common Blocks in the Block Editor
Essentially, the Block Editor is powerful and fully capable of handling everything the old Classic Editor could do. Not only that, it makes your work faster and smoother. Even better, it comes with additional features, such as rich no-code options that make designing content easier. Here are some common blocks that you can easily use as needed.
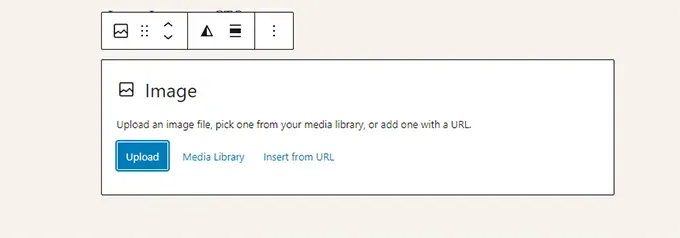
1. Adding an Image in the WordPress Block Editor
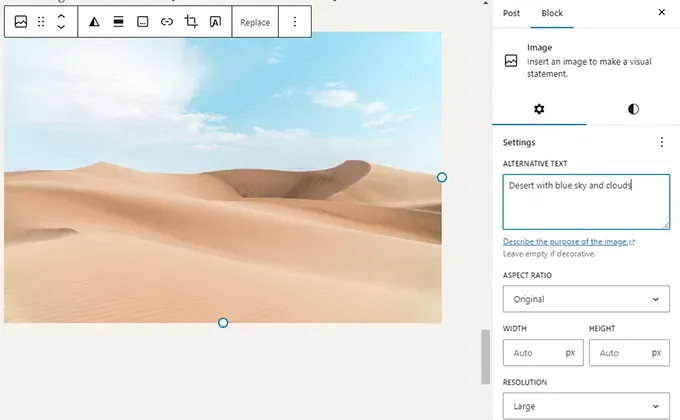
The WordPress Block Editor has an Image block that’s always available. Simply add the block, then upload an image file or select one from the Media Library.
You can also drag and drop images from your computer, and the editor will automatically create an Image block. After adding an image, you’ll see the block settings, where you can add metadata for the image, such as alt text, image dimensions, and image links.
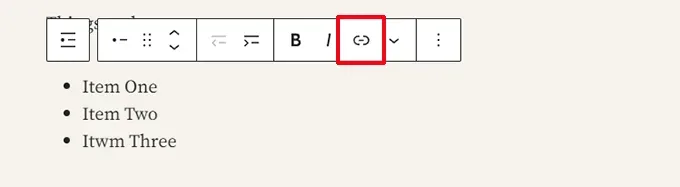
2. Adding a Link in the Block Editor
The Block Editor comes with several blocks where you can add text. The most commonly used is the Paragraph block, which has an Insert Link button in its toolbar. All other common text blocks also have a link button in their toolbar.
You can also insert a link using a keyboard shortcut: Command + K on a Mac, or CTRL + K on a Windows computer.
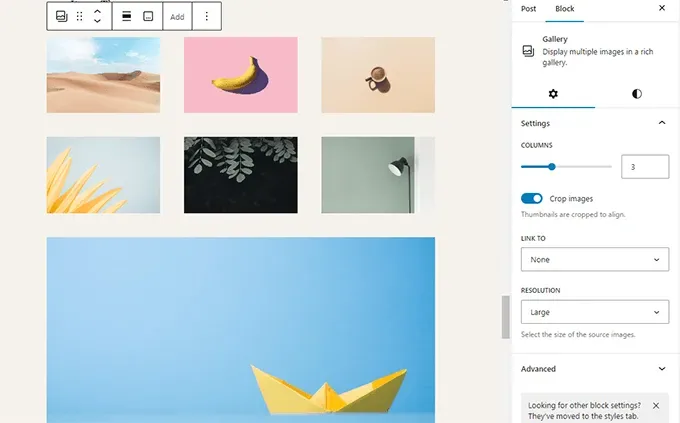
3. Adding a Gallery in Gutenberg
The Gallery block works similarly to the Image block. Add it, then upload or select your image files.
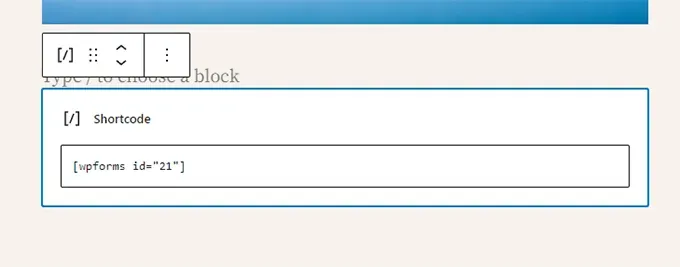
4. Adding Shortcodes to WordPress Posts Using Gutenberg
All the shortcodes that worked in the Classic Editor also work perfectly in the Block Editor. You can insert them directly into a Paragraph block, or choose to use a dedicated Shortcode block.
Exploring Other Content Blocks in the Block Editor
The Gutenberg Editor aims to address some long-standing usability issues in WordPress by introducing a number of new blocks.
1. Adding an Image Next to Text in WordPress
With the old editor, many users couldn’t place images next to text. But now, you can accomplish this using the Media & Text block.
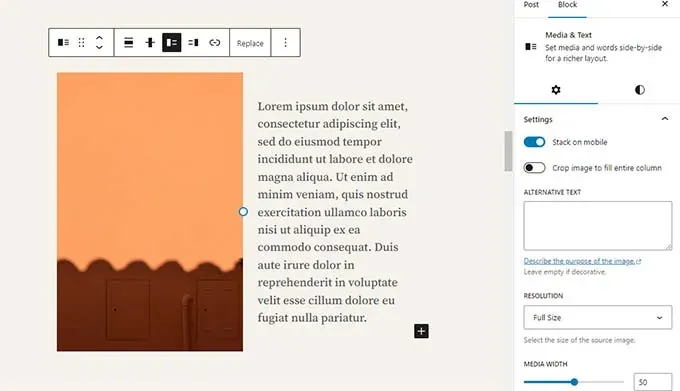
This simple block consists of two side-by-side blocks, allowing you to easily add an image with some text next to it.
2. Adding Buttons in WordPress Posts and Pages
In the old editor, adding a button to a blog post or page could be a real headache. You might have needed a dedicated plugin to generate a button shortcode, or switch to HTML mode and write the code manually. Fortunately, the Gutenberg Editor includes a Button block, allowing you to easily add buttons to any post or page—no more hassle!
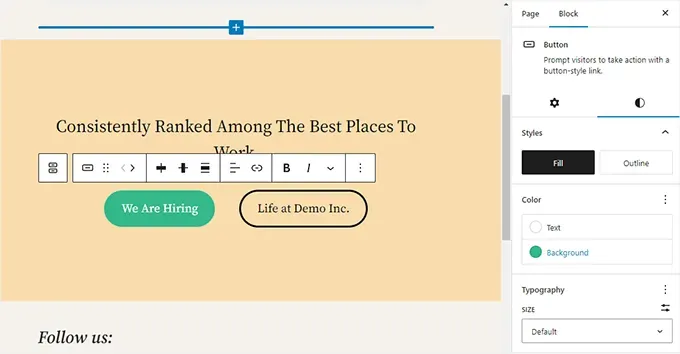
You can add a link to the button, change its color, and more.
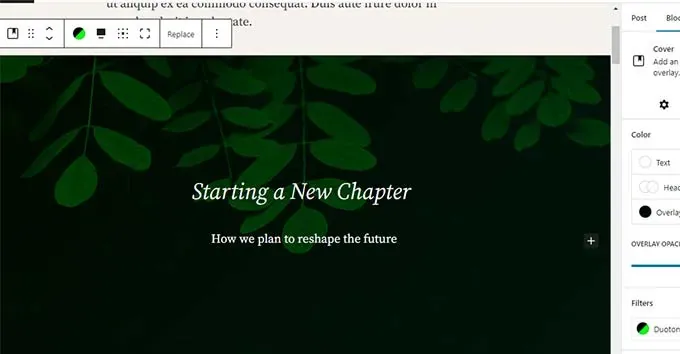
3. Adding Attractive Featured Images to Blog Posts and Landing Pages
Another great feature is the Cover block. It allows you to easily add a featured image or a color background cover to your posts and pages. Cover images are usually wide and often used as a decorative element for a new section of a page or the beginning of a story. They look visually appealing and help create eye-catching content layouts.
Using it is simple: just add a Cover block and upload your chosen image. You can also add an overlay color to the cover or set it as a fixed background image, creating a cool parallax effect as users scroll down the page.
4. Creating Tables in Posts
In the Classic Editor, adding a table to a WordPress post wasn’t easy—you either needed a plugin or had to write CSS and HTML code yourself. The good news is that the Block Editor now includes a built-in Table block, making it quick and easy to add tables to posts and pages. Simply add the block, select the number of columns and rows, and you’re done!
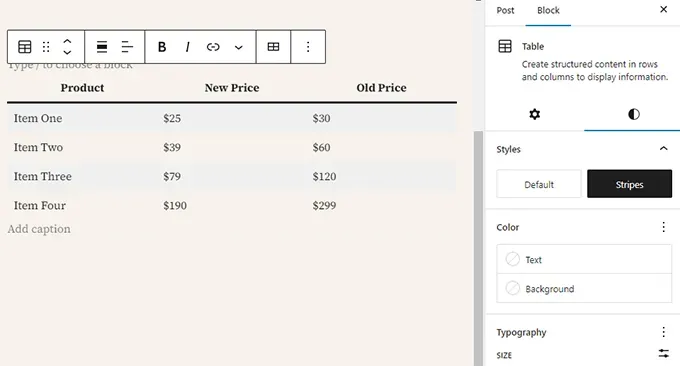
You can now start adding data to the table rows. If needed, you can add more rows and columns at any time, and there are two basic style options available.
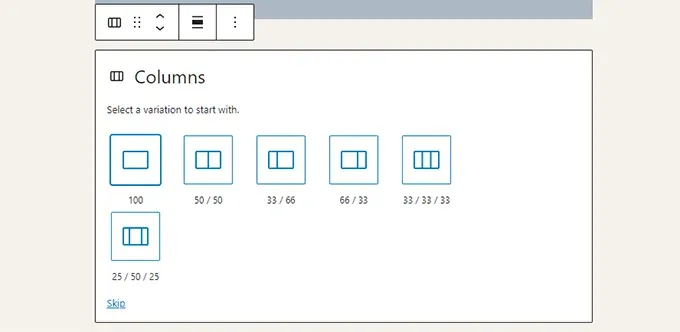
5. Creating Multi-Column Content
The Classic Editor wasn’t very effective for creating multi-column content, which frustrated many users. Fortunately, the Block Editor provides a Columns block feature. By simply adding it, you can easily create two-column Paragraph blocks, making your content layout more diverse and flexible.
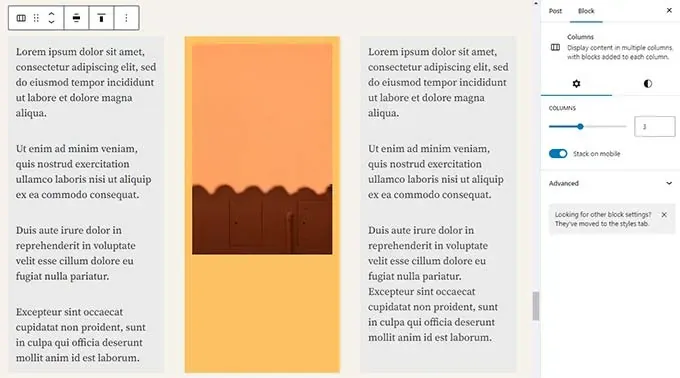
The Columns block is very flexible. You can add up to six columns in a single row, and you can even use other blocks within each column.
Additional Tips for Using Gutenberg Like a Pro
You might be worried that using the Block Editor will take more time adding and adjusting blocks rather than actually creating content. But there’s no need to worry—the Block Editor is extremely fast to work with. Once you get a little familiar with it, you can easily add various blocks without much thought. You’ll quickly find that using the Block Editor makes your workflow faster and smoother.
Here are some additional advanced tips to help you use the WordPress Block Editor even more efficiently.
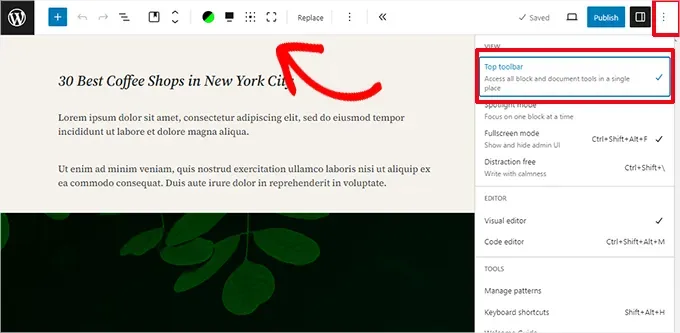
1. Move the Block Toolbar to the Top
You may have already noticed in the screenshot above that each block has a toolbar at the top. You can move this toolbar to the top of the editor. Simply click the three-dot menu in the top-right corner of the screen, and select the “Top Toolbar” option.
2. Using Keyboard Shortcuts
Gutenberg comes with several handy shortcuts that make your workflow faster and easier. The first one is /. Simply type / and start entering text, and the editor will show you matching blocks that you can add immediately. For more shortcuts, click the three-dot menu in the top-right corner of the screen, and select “Keyboard Shortcuts.”
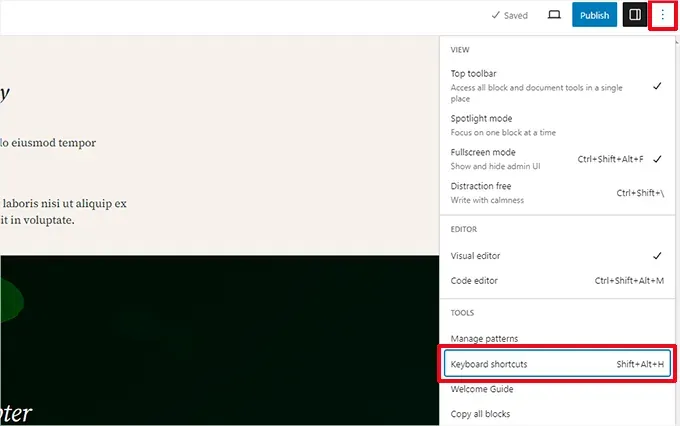
A pop-up window will appear, listing all the keyboard shortcuts you can use. The list provides different shortcuts for Windows and Mac users.
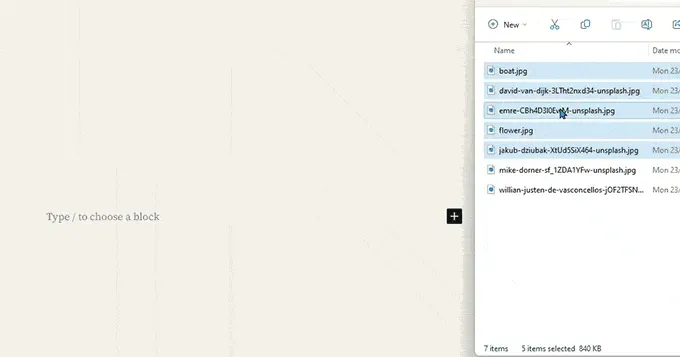
3. Drag and Drop Media to Automatically Create Media Blocks
Gutenberg allows you to drag and drop files anywhere on the screen, and it will automatically create a block for you. For example, you can drop a single image or video file, and it will create a block. Or, you can drop multiple image files to create a Gallery block.
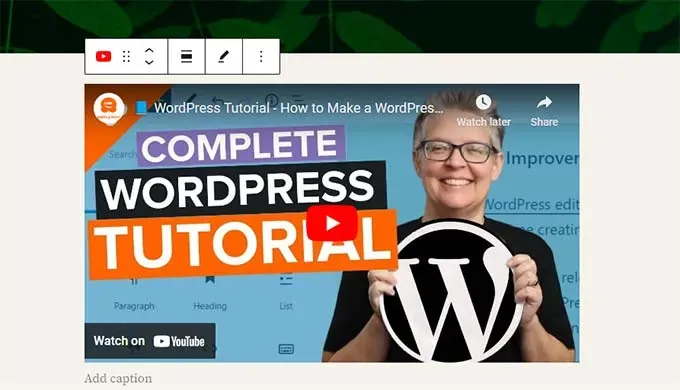
4. Adding YouTube, Twitter, Vimeo, and Other Embedded Content
The Block Editor makes it easier to embed third-party content into your WordPress posts and pages. All popular third-party services have their own blocks.
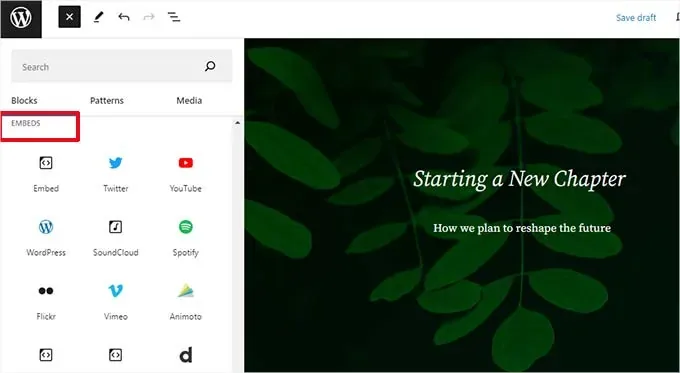
You can simply copy and paste an embed URL, and it will automatically create a block for you. For example, if you add a YouTube video URL, it will automatically create a YouTube embed block and display the video.
The default embed options don’t work for Facebook and Instagram embeds.
Adding More Blocks in the Gutenberg Block Editor in WordPress
Developers can create their own blocks for the Block Editor in WordPress. There are some excellent WordPress plugins that provide block bundles for the new editor.
Here are a few examples:
1. Spectra WordPress Gutenberg Blocks
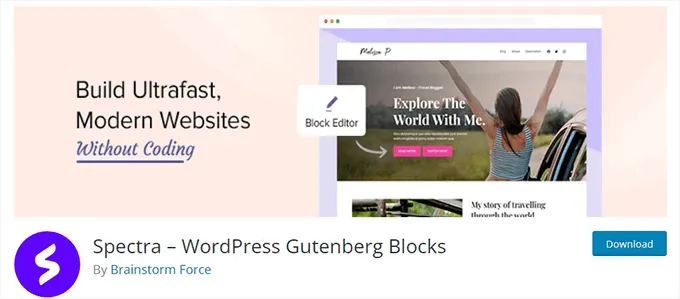
Spectra WordPress Gutenberg Blocks is a block library that includes many advanced blocks, allowing you to add more design elements to your content.
Spectra was created by the team behind the popular Astra WordPress theme and helps you create beautiful designs without writing any code.
2. PublishPress
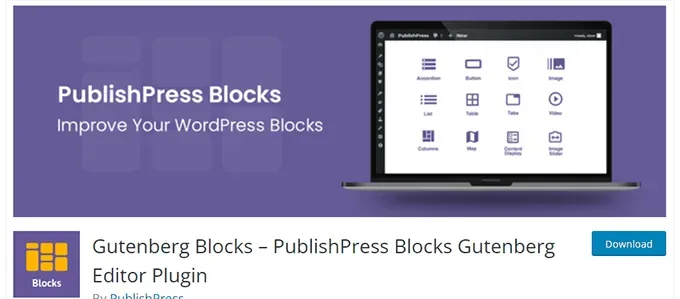
PublishPress Blocks is another powerful block library that adds additional blocks to extend the Gutenberg Block Editor. It includes beautiful layout options, sliders, buttons, icons, image galleries, maps, tabs, testimonials, accordions, and more.
3. Stackable – Gutenberg Blocks
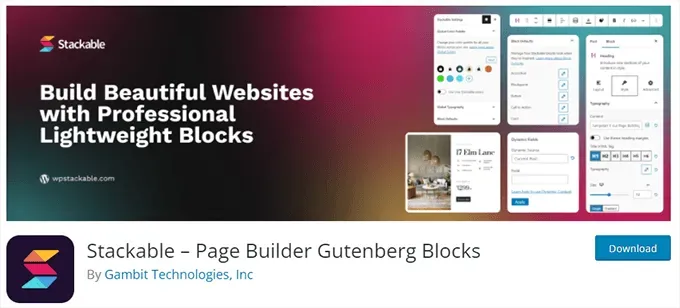
Stackable – Gutenberg Blocks is a collection of beautifully designed Gutenberg blocks that you can use on your website. It includes blocks such as Containers, Posts, Feature Grids, Accordions, Image Boxes, Icon Lists, Call-to-Action, and more.
We hope this Gutenberg tutorial helps you learn how to use the WordPress Block Editor effectively.